

What Happens During Door Replacement
Here's what this page covers:
How Does Door Replacement Start?
We also check:
What Preparation Happens Before Installation?
Before installation day:
What Are the Door Installation Steps?
Entry doors:
French doors:
What Happens After Door Installation?
Basic maintenance:
What Do the Performance Numbers Mean?
Basic maintenance:
How Long Does Door Replacement Take?
What affects timeline:
Planning Your Door Replacement
Recent Door Installation Projects
.png)

ROFFING
A description of the resource being shared. Just a couple of sentences should be just right.
LEARN MORE

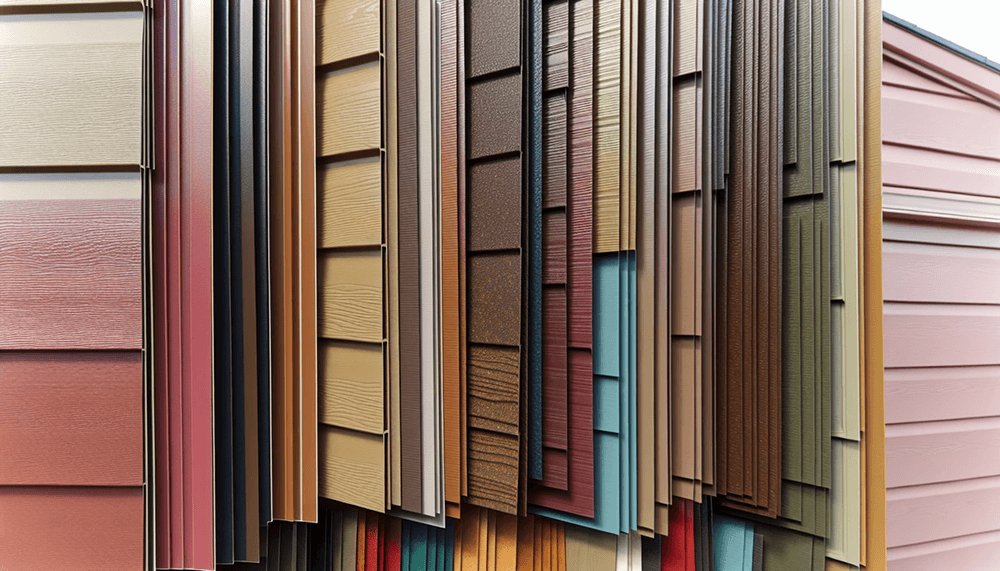
SIDING
A description of the resource being shared. Just a couple of sentences should be just right.
LEARN MORE
WINDOWS
A description of the resource being shared. Just a couple of sentences should be just right.
LEARN MORE
Trusted for decades
Lorem Ipsum is simply dummy text of the printing and typesetting industry. Lorem Ipsum has been the industry's standard dummy text ever since the 1500sindustry's standard dummy text ever since the 1500s


