Project Prep Checklist
A little prep goes a long way. Knowing what to do before installers arrive keeps your project on track and reduces stress on install day. This project prep checklist covers everything—what to handle 24-72 hours before crews show up, what to expect during installation, and how to care for your new roofing, siding, windows, doors, gutters, or attic insulation once the work is done.
Quick Checklist: What to Do Before Your Project
Use this project prep checklist as your starting point. Details for each item follow in the sections below.
Before installers arrive:
Move vehicles out of the driveway and away from the house
Clear the work zone (6-8 feet around the project area)
Secure pets indoors or away from the property
Remove or protect fragile items near work areas
Take down wall hangings that could shift from vibration
Cover belongings in the attic (for roofing or insulation projects)
Confirm your project manager's contact information
Let neighbors know if crews will need shared access
Timeline at a Glance
| When | What Happens |
|---|---|
| 24–72 hours before | Property prep, interior prep, communication |
| Install day | Crew arrival, material staging, active work |
| First 48 hours after | Walk the work, note questions, test operation |
| First week | Monitor for normal settling, keep warranty info accessible |
What Should You Do 24-72 Hours Before Installation?
The best time to prepare for exterior remodeling is a few days before crews show up—not the night before. We've broken tasks into categories based on what homeowners most often forget or underestimate.
Property
Move all vehicles out of the driveway and away from the house perimeter
Clear patio furniture, grills, planters, and lawn décor from the work zone
Protect landscaping with tarps or temporary fencing if it's close to the house
Mark sprinkler heads or anything buried near the foundation—irrigation, landscape lighting, invisible fence wires
Unlock gates and clear paths to the backyard or side yards
Home Interior
Remove wall hangings, mirrors, and shelved items near work areas (vibration can knock things loose)
Cover furniture and flooring near windows or doors being replaced
If attic work is involved, cover stored items or move them to one side
Clear a path from your main entry to the work areas inside
Communication
Confirm your project manager's name and phone number
Ask how your project manager will keep you updated—most homeowners prefer text, but we'll work with whatever's easiest for you
Let neighbors know about the project if crews need shared driveway access or will be working near a fence line
Note any gate codes, garage codes, or entry instructions the crew will need
What Should You Expect on Installation Day?
Your installation day checklist is simple: stay accessible, stay flexible, and know what's normal.
Crew Arrival and Setup
Crews typically arrive in the morning—your project manager will confirm timing
Materials get staged in your driveway or yard (this is temporary)
Crews need clear access to work areas throughout the day
During the Install
Expect noise, especially with roofing, siding, or window projects
Workers may need to enter your home for window, door, or insulation work
Your project manager is your go-to person—call or text them anytime, even mid-project
End of Day
Crews clean up the work area daily
Debris removal happens throughout the project, not just at the end
Your project manager will update you on progress and next steps
What's Normal: Loud hammering and cutting. Materials staged in your driveway for the day. Workers moving around your property. Brief interior access for window, door, or insulation work. All standard—we've done this for over 10,000 homeowners, and our crews know how to work efficiently while respecting your space.
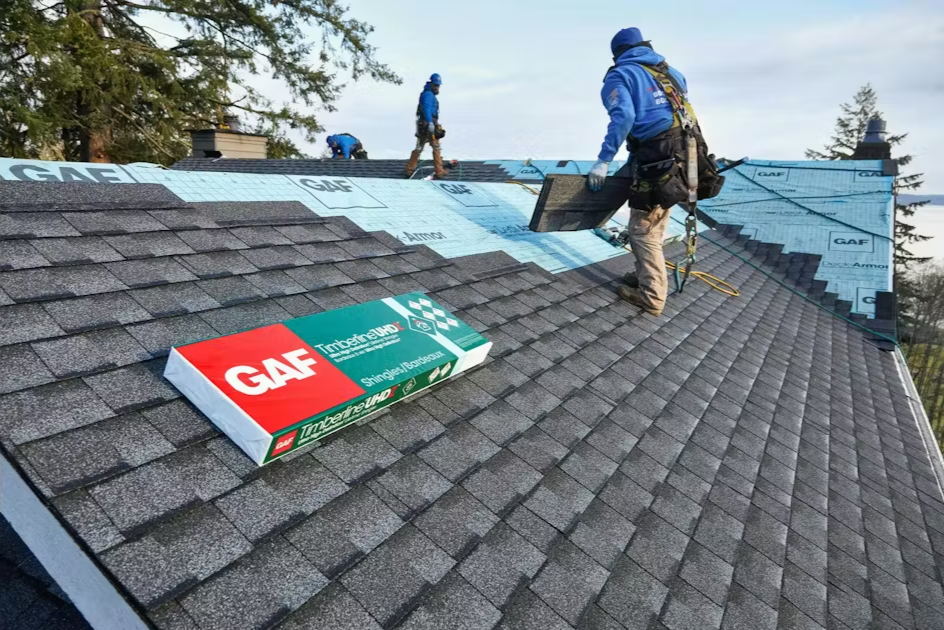
Roofing Prep {#roofing-prep}
Knowing how to prepare for roof replacement keeps your belongings protected and gives crews clear access. We've seen homeowners forget about attic storage during tear-off—covering items with plastic sheeting takes five minutes and saves headaches later.
Move vehicles away from the house—falling debris is unavoidable during tear-off
Cover items stored in your attic with plastic sheeting (dust and small debris can fall through)
Remove or protect satellite dishes, antennas, and rooftop decorations
Trim back tree branches that overhang the roof or touch the roofline
Secure loose outdoor items like patio umbrellas, toys, and lightweight furniture
Take down hanging plants or wind chimes near the roofline
Mark any skylights or solar panels for the crew's reference
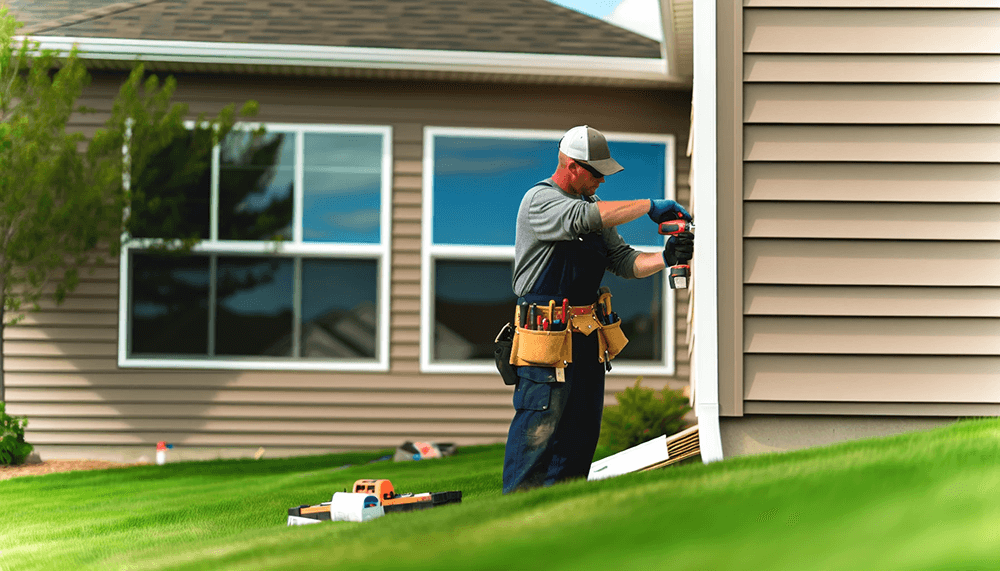
Siding Prep {#siding-prep}
Preparing for siding replacement means clearing the perimeter and removing anything mounted to your walls. The most common surprise? Homeowners forget about hose reels, house numbers, and that decorative thermometer by the back door.
Remove exterior-mounted items: lights, house numbers, hose reels, décor
Clear a 6-8 foot perimeter around the house for staging and access
Protect landscaping near the foundation with tarps or relocate container plants
Mark sprinkler heads and buried irrigation lines close to the house
Take down window screens on walls where siding is being replaced
Move firewood stacks, AC unit covers, or storage bins away from walls
Note any exterior electrical outlets or fixtures for the crew
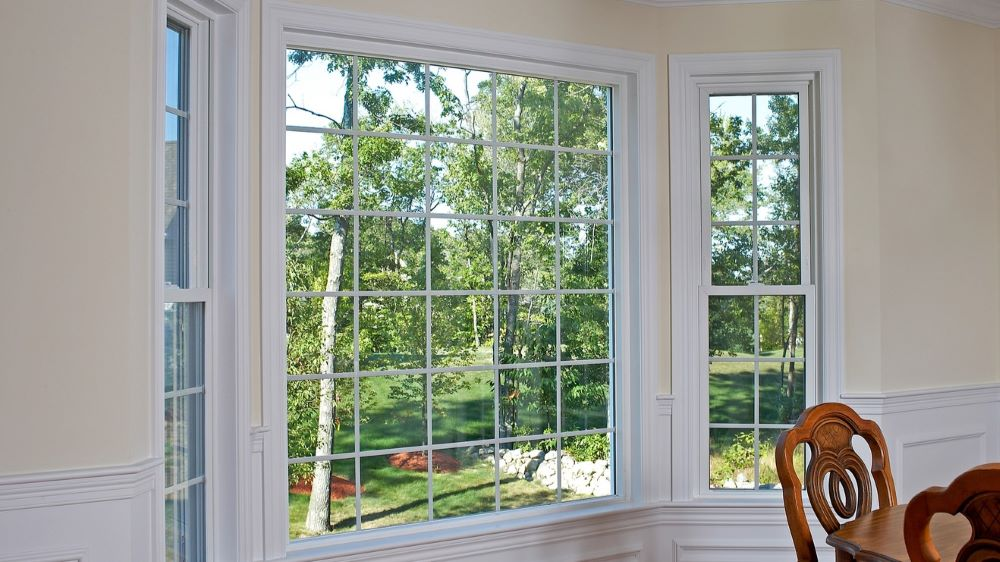
Windows Prep {#windows-prep}
Preparing for window replacement is mostly about clearing interior space. Vibration from removing old frames can knock things off walls—we've seen picture frames, mirrors, and floating shelves come down unexpectedly.
Clear furniture and belongings 3-4 feet back from each window being replaced
Remove blinds, curtains, and window treatments completely
Take down fragile items from nearby walls—vibration can knock things loose
Cover floors beneath windows with drop cloths or plastic sheeting
Ensure a clear path from your main entry to each window location
Remove window-mounted AC units if applicable
Unlock and test each window so crews can assess operation
Doors Prep {#doors-prep}
Preparing for door replacement means clearing entry areas and thinking through temporary access. If your main door is being replaced, you'll need another way in and out for a few hours—garage entry or a side door works fine.
Remove security sensors, doorbells, or smart locks from the door frame
Clear the entry area inside and out—coats, shoes, benches, planters
Cover nearby flooring with drop cloths (dust and debris are unavoidable)
Take down wall décor near the door frame
Disconnect any hardwired security systems tied to the door
Plan an alternate entry point if your main door is being replaced
Note any storm door hardware that needs removal
Gutters Prep {#gutters-prep}
Preparing for gutter installation is straightforward—mostly clearing space below the roofline. The one thing homeowners miss? Buried downspout extensions. If you've got underground drainage, mark where the lines run so crews don't puncture them.
Move vehicles out from under the eaves and roofline
Clear patio furniture, grills, and planters from directly below the gutters
Note existing downspout discharge locations for the crew
Mark buried downspout extensions or underground drainage lines
Trim back shrubs or branches that touch the fascia or soffit
Remove hanging plants or decorations near the roofline
Ensure ladder access is clear on all sides of the house
Attic Insulation Prep {#attic-insulation-prep}
Preparing for attic insulation installation means clearing access and protecting stored items. Insulation dust gets everywhere—if you've got boxes of photos or holiday decorations up there, plastic sheeting is worth the effort.
Clear the path to your attic access point (pull-down stairs, ceiling hatch, or walk-up door)
Remove stored items from the attic or consolidate them to one side
Cover remaining belongings with plastic sheeting—insulation dust spreads
Make sure the attic light works (if you have one)
Note the location of HVAC equipment, ductwork, or junction boxes for the crew
Clear any insulation that's blocking the access point
Ensure the attic floor or joists can support crew movement
What Should You Do After Installation?
Your project prep checklist doesn't end when crews leave. A little attention in the first week helps you catch anything that needs follow-up—and helps you understand what's normal settling versus what's worth a call.
First 48 Hours
Walk the completed work with your project manager before sign-off
Note any questions or concerns—your project manager will address them on-site when possible
Test operation: windows open and close smoothly, doors latch properly, gutters are secure
Confirm the site cleanup is complete (no debris, nails, or materials left behind)
Collect your warranty documentation and keep it somewhere accessible
First Week
Monitor for normal settling—minor adjustments are common and covered under warranty
Avoid pressure washing new siding, roofing, or gutters for at least 30 days
Check for any visible concerns: loose trim, gaps, operational issues
Keep your project manager's contact info handy for follow-up questions
When to Contact Us:
You notice visible damage or installation issues
Windows, doors, or other components don't operate correctly
You have questions about care, maintenance, or warranty coverage
Something just looks off—trust your gut and give us a call
Find answers, explore options, or get in touch.
Questions Before Your Project Starts?
This project prep checklist covers the basics, but every home is different. If you have questions about your specific project, your project manager is your go-to resource. We're also available through our support team anytime.
With over 10,000 customers served and 25+ years of experience in similar Midwest climates, we've refined our process to make installation day as smooth as possible. Every project includes our Lifetime Workmanship Warranty—coverage that doesn't expire—and our Gold Standard Protection Plan with annual inspections, priority scheduling, and transferability if you sell your home. We're also a BBB Torch Award for Ethics recipient—recognition not every contractor can claim.
Leading exterior home remodeling experts serving Ohio and Michigan with quality craftsmanship since 2000.
Toledo
2852 South Ave Toledo, OH 43609
(419) 495-8598
Farmington Hills
23941 Research Dr
Farmington Hills, MI 48335
(248) 290-6843
Integrity Home Exteriors © 2025 All rights reserved. Sitemap